Injector slot online adalah apk yang diburu oleh banyak pemain slot game, dengan berbagai tipe dan jenis sekaligus provider yang berbeda-beda. Injector yang satu ini mampu meningkatkan potensi menang dalam permainan tanpa batas dan lebih cenderung cocok untuk semua jenis permainan buatan provider manapun.
Slot online sendiri adalah permainan yang mampu memberikan kesenangan, ketagihan rasa main, hingga keuntungan dalam jumlah uang asli besar sekali. Hal inilah membuat pencarian solusi menang paling gampang dilakukan para pemain. Salah satu yang gencar sekali dalam pencarian adalah pengunduhan apk Injector hack slot online ini. Jika Anda ingin mendapatkan keuntungan, maka silakan coba saja bermain sembari menggunakan apk satu ini.
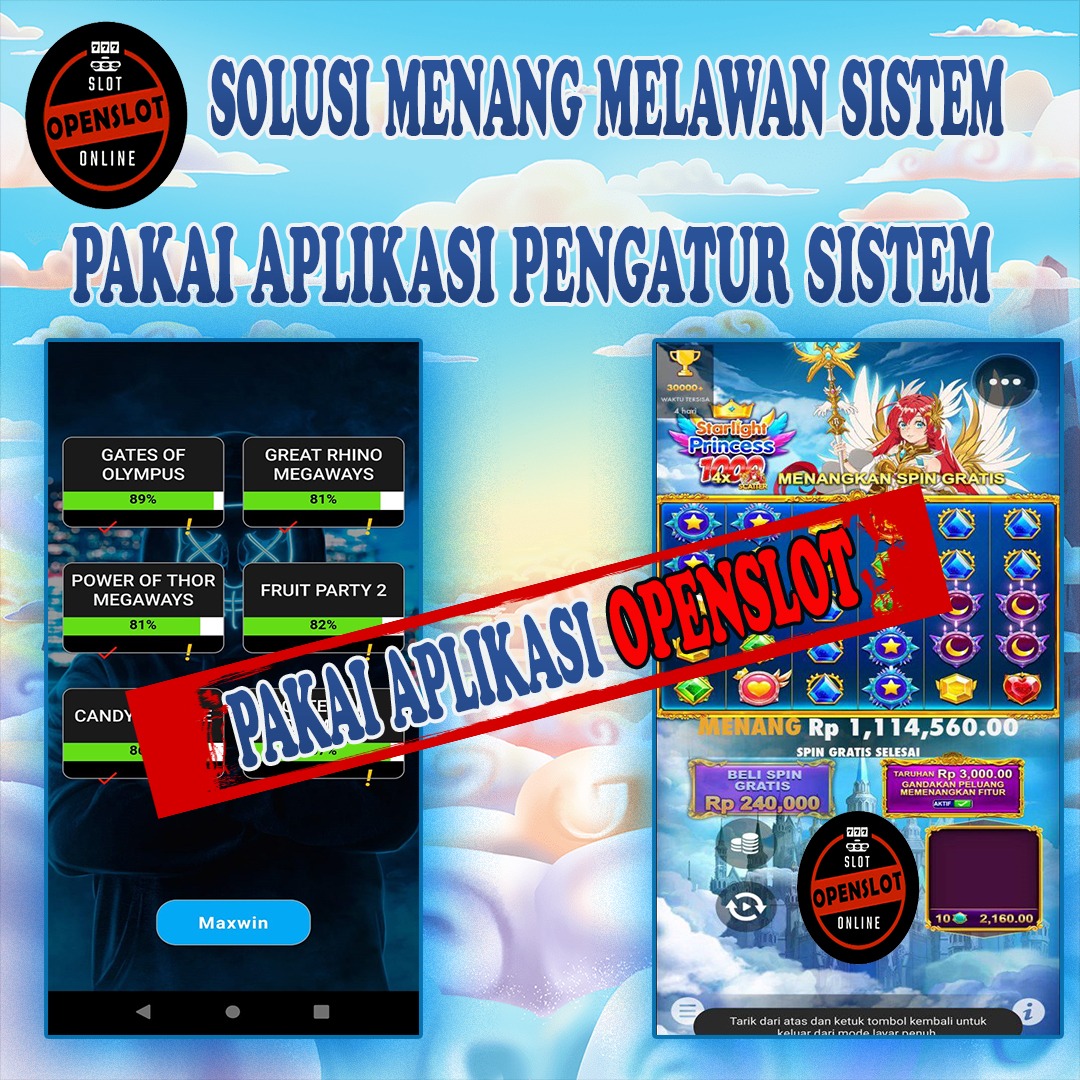
Hack Sistem Game Paling Diburu Versi Injector Slot Online Terbaru

Bagi orang awam dalam permainan slot pasti bingung mengenai hack slot yang sudah dibuat oleh para ahli gaming sistem ini. Dengan menjelaskan sedikit secara garis besar, maka peruntukan apk ini akan selalu jadi peluang menang paling cepat dan aman. Hal ini memastikan segala kesempatan dapat terjadi secara signifikan dan terus bisa digunakan selama syarat masih terpenuhi.
Untuk detailnya secara garis besar, Injector slot online merupakan sebuah sistem yang dibuat untuk menyusup ke dalam server permainan melalui celah yang ada. Dan secara langsung dari proses pengaktivan injector yang bekerja dibelakang latar akan membuat setiap putaran memberikan hasil yang diiinginkan. Hal inilah yang menjadikan apk injector hack slot ini sangat diburu oleh banyak pemain.
Untuk memastikan keuntungan yang bisa diperoleh, maka hal paling pertama adalah meningkatkan potensial Anda dari pengertian penggunaan apk. Dan kemudian lanjut ke permainan sehingga bisa memberikan hasil yang lebih maksimal lagi. Salah satu proses yang diperlukan untuk bisa memanfaatkan apk dengan baik dan benar ialah pengunduhan – installl – jalankan! kemudian mainkan slot game sesuai nominal spin, maka kemenangan dapat berlangsung.
Link Unduh Apk Injector Slot Online Terbaru Disini!
Kami menyediakan link unduh untuk apk biar bisa segera digunakan, dengan versi update yang sudah mencapai tahap paling baru dan cocok untuk digunakan dalam versi permainan saat ini. Sebagai langkah paling awal adalah pengunduhan dan penginstallan, cara dan langkah-langkahnya bisa dilihat berikut!
Link Download Injector Slot Online Versi Terbaru
| LINK DOWNLOAD | DOWNLOAD APK |
| WA | 087730902694 |
| TELE | 087728976102 |
Silakan klik dan unduh apk melalui browser mobile atau desktop Anda. Kemudian cari di folder unduhan, dan kemudian klik install. Bila Anda menemukan apk Injector Slot Online ini dalam format rar/zip maka ekstrak terlebih dahulu. Kemudian silakan ikuti prosedur penginstallan untuk setiap jenis perangkat berikut ini :
- Mobile android/ maka proses bisa dilakukan dengan ekstrak lebih dulu Injector Slot Online Jika sudah silakan pergi ke setting phone (pengaturan) berikan izin akses/penginstallan aplikasi dari sumber lain. Kembali ke apk di folder unduhan, kemudian install lalu sukses, setelah itu jalankan dan nikmati permainan slot dengan injector hack slot terbaru.
- Desktop/ silakan download melalui browser chrome atau mozila (bebas), kemudian langsung silakan unduh dan install. Ingat untuk mematikan lebih dulu anti virus sama windows security lebih dulu. Kemudian install dan jalankan, gunakan untuk main game langsung!
Sangat mudah bukan? inilah kenapa permainan dengan jaminan lebih tinggi dalam hal kemenangan dapat diburu oleh para pemain. Dengan hadirnya Injector Slot Online maka peluang yang bisa menang dalam jumlah besar dapat terjadi 100%. Mari coba dan serunya permainan ini bisa jadi peluang yang bagus untuk Anda nikmati.
Manfaat Dan Panduan Penggunaan Injector Slot Online Asli Terampuh
Hari ini semua orang bisa menikmati game-game dengan peluang menang paling besar. Dengan memanfaatkan Injector Slot Online maka seluruh pemain bisa mendapatkan kemenangan secara konsisten sesuai batasan yang ada. Dan manfaat besarnya ini sebagaimana dari fitur injector dapat diketahui antara lain berikut!
- Memanipulasi server game slot, sehingga hack slot online ini mampu meningkatkan potensi putaran dalam permainan untuk hasilkan simbol-simbol dengan pembayaran besar hingga potensi memperoleh scatter
- Memberikan keuntungan berupa proses bermain dari setiap langkah yang ada, seperti keuntungan dari segi maxwin dapat digapai
- Sistem hack slot menyusup secara aman dan tersamarkan sehingga sistem pengaman server tidak dapat mendeteksinya sebagai sebuah gangguan, sehingga permainan akan selalu aman digunakan sampai maxwin bisa tercipta
- Batas dari penggunaan Injector Slot Online adalah kemenangan maksimal dari 10x jumlah maxbet untuk dimainkan. Inilah batas biasanya untuk menghindari banned server!
- Dan masih banyak lagi lainnya dalam fitur membuat kemenangan slot tercipta
Dari segala proses dan bermain aman, manfaat dari apk injector hack slot online ini memang tidak ada bandingannya. Apalagi setiap pemain tidak memerlukan pola gacor, jam gacor bahkan stabilitas bet. Hal inilah yang membuat penggunaan apk hack slot bisa menjadi solusi paling baik dalam menciptakan keuntungan bermain slot online saat ini!
Panduan Menggunakan Injector Slot Online
Silakan download dan install apk injector hack slot online sesuai dengan OS gadget Anda. Dan jalankan, kemudian untuk bisa menggunakan secara aman dan baik, maka langkah-langkah berikut ini jadi pilihannya :
- Ketika Injector Slot Online sudah dijalankan, maka buka permainan slot yang Anda ingin menangkan
- Bisa memilih pragmatic seperti gates of olympus, starlight princes, sweet bonanza atau game-game yang lainnya. Seluruhnya peluang yang dimenangkan akan sama, sebab apk injector slot online ini sudah teruji ampuh di seluruh jenis provider game
- Silakan jalankan dan mulai saja bermain, dengan dari yang paling rendah harga nominal spin dilakukan, kemudian silakan tingkatkan harga nominal spin secara bertahap, maka hack akan bekerja dan memberikan hasil yang baik pada putaran permainan Anda
- Lakukan dengan batas 10x modal paling besar (maxbet), biar aman untuk permainan dan dapat digunakan lagi. Bila sudah dapat banyak, maka tinggalkan permainan lalu nonaktifkan hack slot injector tersebut, dan mainkan permainan dengan cara biasa untuk membuat sistem terkelabuhi.
Dengan panduan ini semua orang pastinya paham betul, keuntungan dari penggunaan Injector Slot Online jelas tidak memberikan kerugian sama sekali. Namun seluruh resiko dari penggunaan hack slot ini merupakan tanggungjawab dari setiap pengguna. Sebab apk hacking slot ini merupakan suatu ilegalitas diluar aturan permainan, sehingga kemungkinan dibanned oleh sistem server slot sangat rentan terjadi. Jadi kehati-hatian dalam menggunakan, juga batas dalam bermain harus tetap diperhatikan. Sekali lagi, semua tanggung jawab ada pada tangan pemain sendiri-sendiri!
Kesimpulan Injector Slot Online
Bermainlah dengan niat mencari uang, cukup dan jangan berlebihan. Incar kemenangan sesuai jatah harapan menang Anda setiap hari. Jangan memainkan secara brutal, sebab Injector Slot Online ini ada batas dan kemungkinan dibanned sistem server bisa saja terjadi. Untuk itu, silakan main dengan aman sesuai petunjuk, dan jangan lupa untuk tetap tenang dan ambil apk di situs ini. Karena ini apk ilegal, maka tidak bisa ditemukan dalam situs manapun dan toko resmi playstore maupun app store tidak menyediakannya juga.